

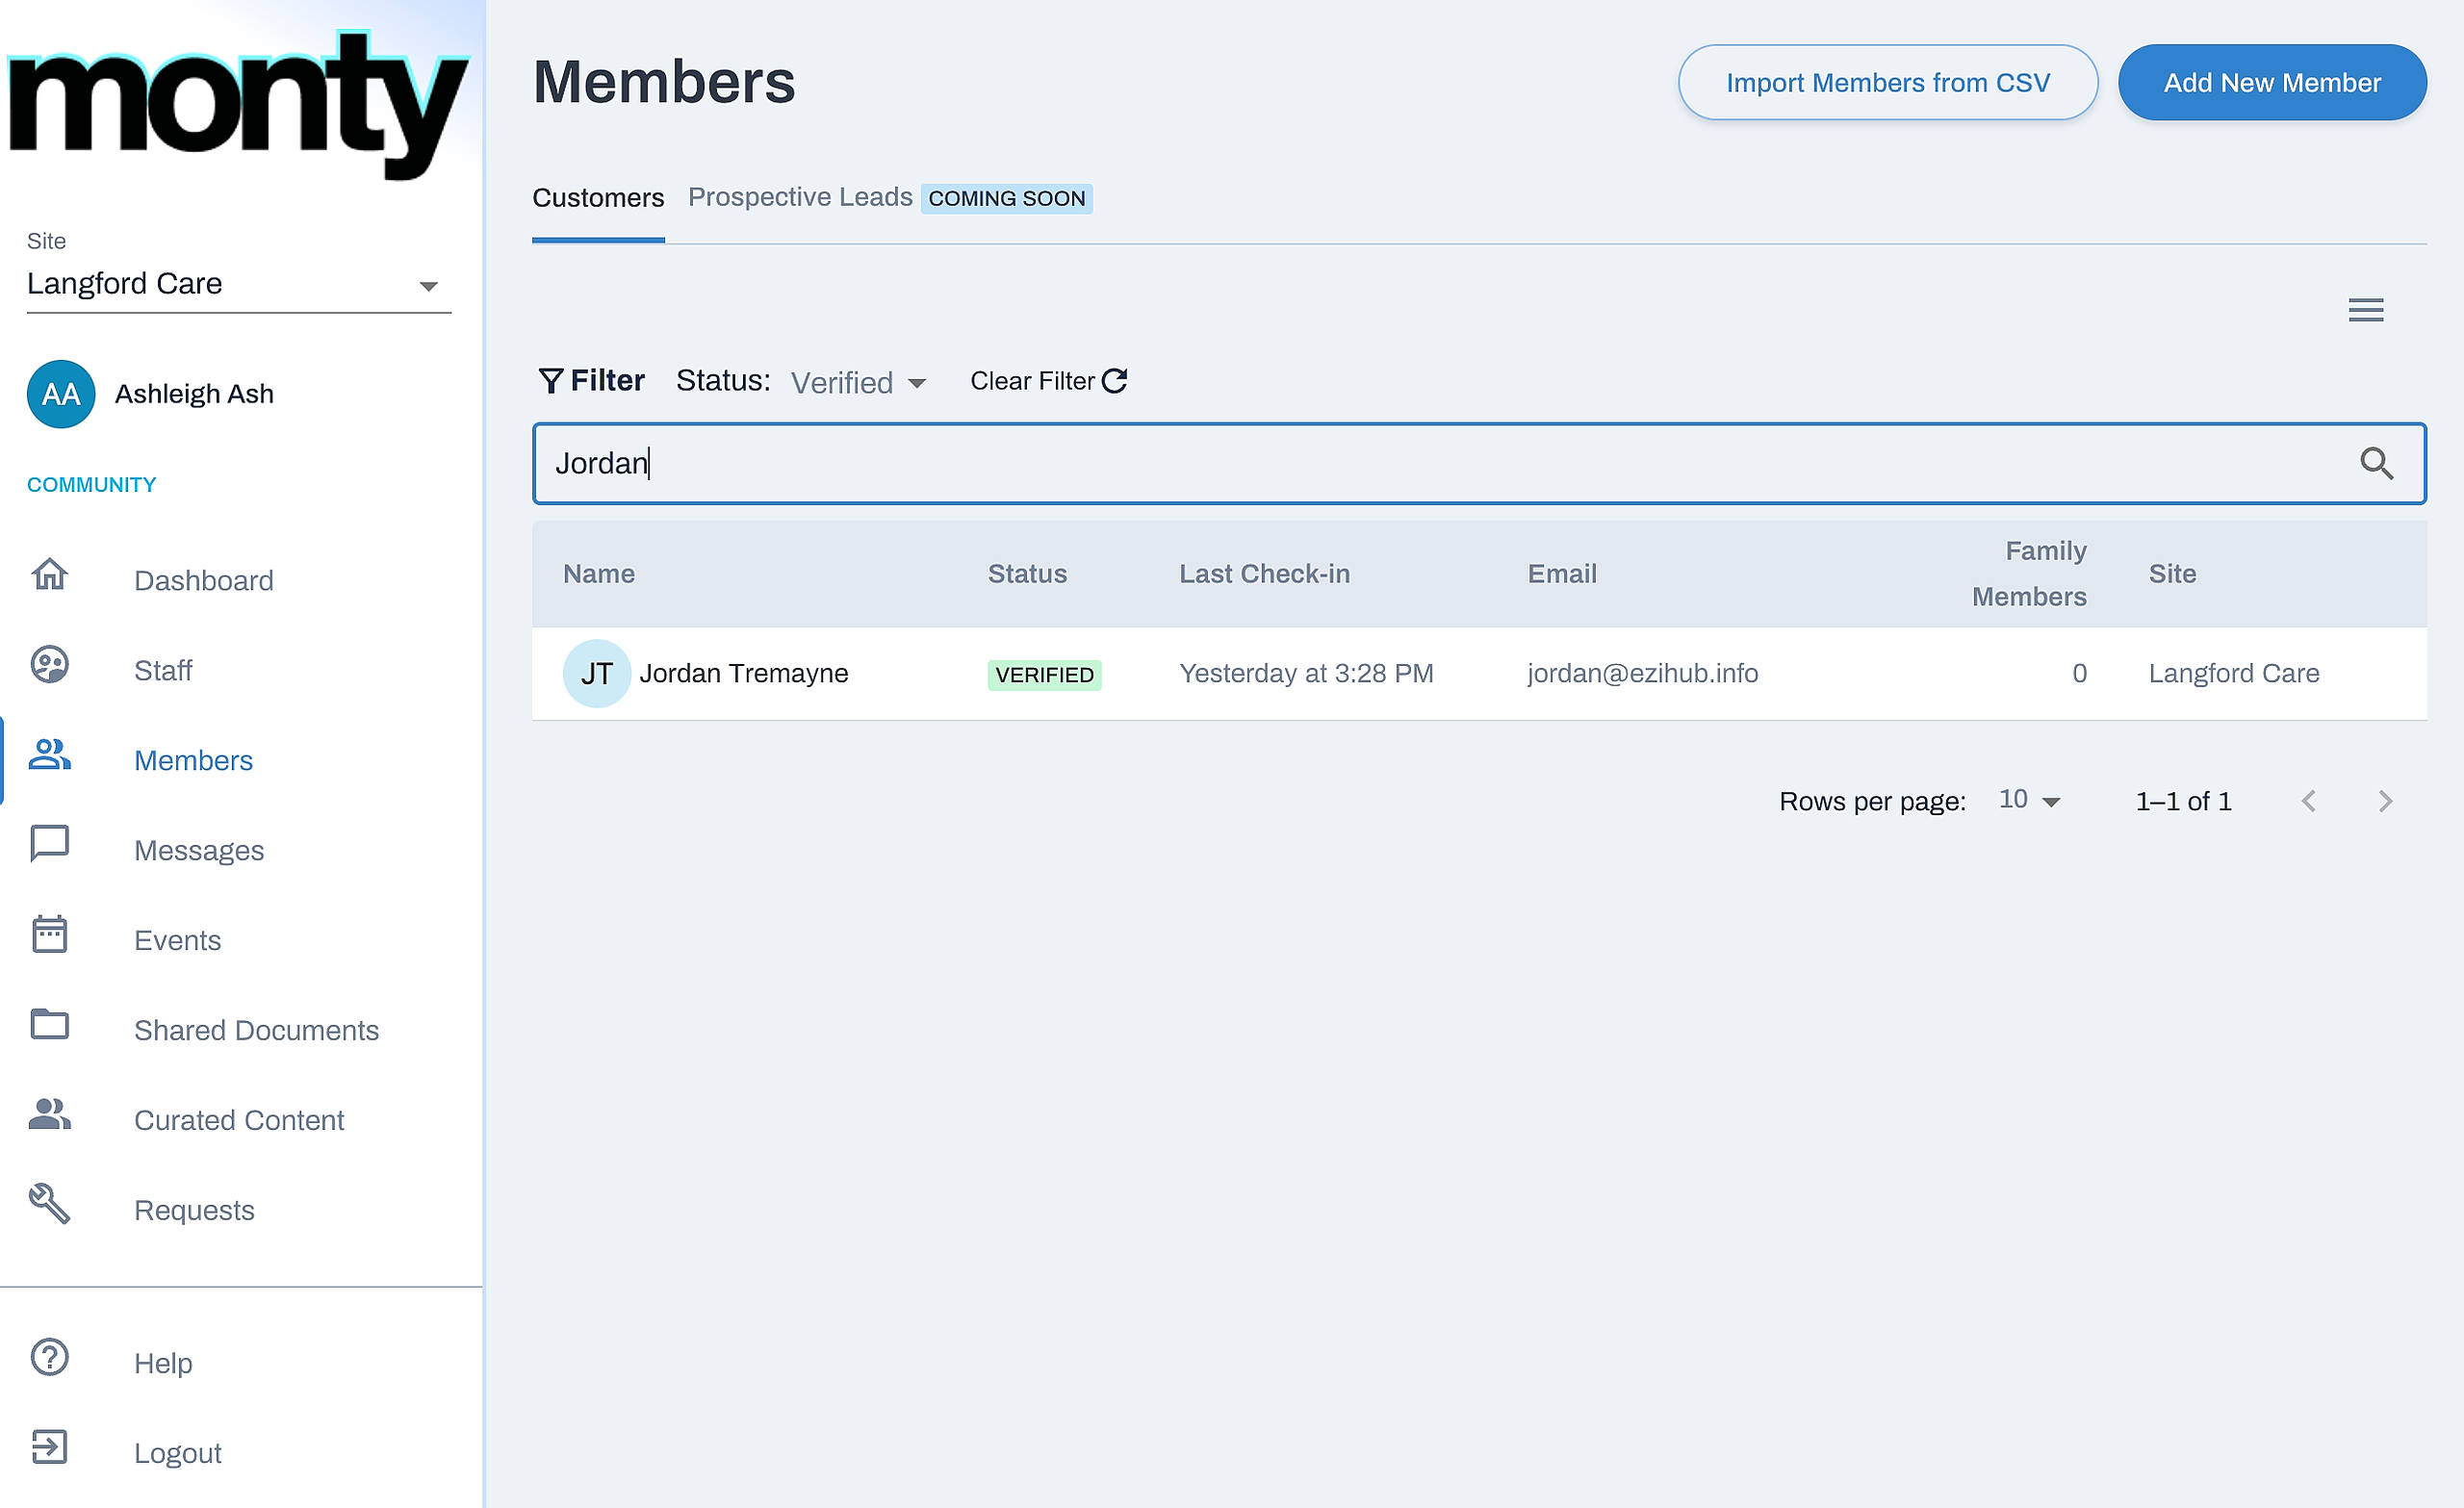
To begin, let's navigate to the Members section of the dashboard. Remember documents shared privately with a member can only be viewed by that member.
To share a private document with a member, firstly locate their profile by typing their name in the search bar.
Click on the user profile.
Next, navigate to their personal documents via the Documents tab.
Here you can see existing private documents and a link to shared documents.
Note clicking the Shared Folder will take you to the Shared Documents folder.

To create a new document folder, click on New Folder.
Give your folder a name and click Create to save it.

Click into your new folder.
To add a file, click Upload.
Drag and drop files onto the window or click the 'here' link to select files from your computer.
Once you have selected the files, click Upload > Done to save them.

To search for an existing file, type your query into the search bar.
Then select the document from the search results.
To sort documents, click on the AZ icon.

To rename, delete or move a file or folder, click on the dropdown menu.

And that's how to manage private documents!